Wednesday, August 12, 2015

Decals, Screen-prints and Frustration


I started a while back learning the process of decals and found Justin Rothshank’s website which provided a huge amount of information. Useful information which went from the start of the image process to the final product. Having found his website at 
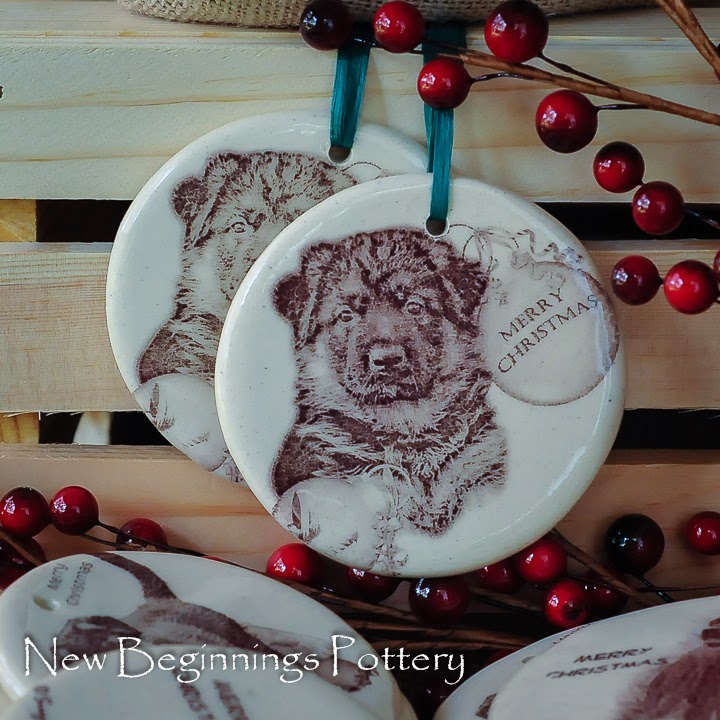
the beginning of my decal journey to incorporating my own photography into my pottery I thought this was the norm for finding information on new processes.
That was a mistake on my part and a rather arrogant mindset that I should be able to find whatever information I needed without doing the work and testing to find if it fit my needs.

Starting with both a DVD and a book from well-known potters who create decals from ceramic underglazes I had a pretty good grasp of the process AFTER the screen print was created. This is
where my problems rose up. Neither the book nor the DVD explained in any detail how to prepare the image. No troubleshooting for my particular needs.
Now mind you, I’m still in the mindset at this point that the information should be easy to find if you just look and now that I’ve actually paid money for something to help me learn then they should be able to answer my questions. Frustration set in when messages on Facebook and emails went  unanswered. It didn’t matter that I didn’t even know the correct question to ask. I needed help and wanted it now. I was pretty cranky.

I started scouring all the screenprinting sites and YouTube video’s I could find and came across one 
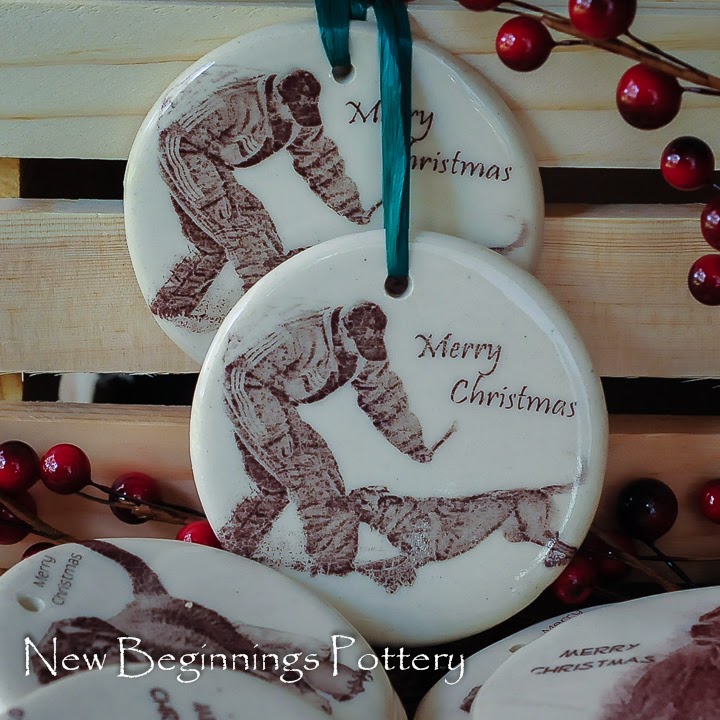
small tutorial from wegraphics.net showing how to turn a photo into a screen printed graphic. That started my journey into what I needed to do to prepare one of my photographs for screen-printing.
I’m still just at the beginning of my journey but now have a clear goal in sight so it allowed me to
take a look at my expectations and see I was not really fair and the expectation of responding just because I purchased a book or DVD is not reasonable. Going to a workshop and asking those questions is reasonable and if either of the two potters has a workshop near my home I will guarantee I’ll do my best to get there!
In the next couple of weeks I’ll put some pictures together to share a little more detail in hopes that I
can pay it forward to make up for my greediness for knowledge and to help alleviate someone else going through the same frustrations I have experienced so far.


Thursday, July 30, 2015

Am I Crazy?

In my last post on 7/13 I just spoke about how little time I had to post on my blog with part being due to our new puppy and the amount of time it takes to grow up. So what do I do? We add this to our pack:


So I will just have to get better at time management and take lots of advantage of naptimes!

I’m finished with the Fused Glass Pendants for now. Moving back to my clay which I’ve missed for the last year. Feeling pretty good about the recovery of a number of decals which had to be re-done after the WD Passport crash. I’m working on getting pictures processed and online on the Etsy store but here are just a few that I’m happy with.


Monday, July 13, 2015

It’s Been A While


Quite a bit has gone on in my life since Nov 2013. A new puppy was born Nov 2013 and came home to use 8 weeks later. New puppies take lots of time. 
From this:
To this:


To this:


Would not have traded this time for all the world.

The next year was spent mainly trying to recover from a major loss when I dropped my WD Passport. I know better than to not back things up. I work in technology and just kept putting off fixing the issue with the other Passport not backing up. Then I dropped it. Still haven’t recovered but got enough to focus on a few trophy donations, made some new decals.


Also found myself working and learning about fused glass. Ran a few tests to see if my decals would work on glass. They did. From there a lot of reading, a class at a local glass place and lots of supplies. These complement my pottery quite well so I’ll be continuing to work on them.


Saturday, November 9, 2013

How Fun! Ornaments!


My learning this year leading to creating decals from my photography have been so much fun and turned out so much better than I expected. I love these ornaments. Sharing some here.


I can’t wait to start getting pictures of other breeds I love and get to working on them also. How much fun for next year.


Monday, October 28, 2013

Decals – The Learning Continues


I’ve been so busy testing, developing, throwing, deciding. Even with a heavy workload at work I’ve had so much fun continuing on my decal journey. I’m still not confident on what causes changes in looks in decals but I have moved a long way towards being consistent with the glaze, decals that don’t burn out and firing processes with the glazes I use.

I’ve learned so far the Coyote Clay Shino & Light Shino thickness plays a large part in the appearance of the decal. They have to be fired back to Cone 1 to keep the glaze from turning to underfired matte. They don’t seem to eat the decals as some other glazes I’ve tried.

I see my testing continuing for quite a long period of time as I try to find different combinations. How fun is that!


Sunday, July 14, 2013

The Importance of Testing


And not just testing but documenting also. I have a tendency to say “I’ll remember…” and when slight changes are missed you do not know what actually caused the unexpected results. I know to never take my firings for granted but I was a bit dismayed at how my latest decal tests turned out.

I was sure after the several sets of testing done that I had a good process for my Coyote Clay Shino glaze with decals. I was so sure it would turn out I used some larger bowls I planned to donate for trophies and applied decals expecting to see what I had envisioned.

Opening the kiln I found several decals burned completely away. Ok..that was my mistake in not making sure there was enough contrast and strong details. I have already re-done the decals and expect they will be better.

But then I got to the tumblers. I was quite surprised to see a slight yellow cast again and while not matte the glaze had a soft feel to it. What did I miss? I went back through my kiln firing journal.

  • Glaze not applied to thick. Check!
  • Fired to Cone 1 Fast fire. Check!
  • 5 min hold. Oops..no hold. Oh No!

Add that I had the tumblers on the bottom of the kiln which is the coolest part of my kiln (known from using witness cones on a regular basis) and I think I know why I had a setback.

I will try again with the Shino and decals because I love the blend so much but I will continue to search for other glazes that are a little more predictable but still give  me the look I am trying to make.

These are the only ones I consider successful. While the glaze on the Eggshell/Green needs to be dipped for a cleaner line the decal turned out as I hoped. The birds are Light Shino with a Croc Blue edge. I find that one appealing so will be doing a series of this glaze combo.


Many more were failures. Either burning out too
much, leaving a yellow band around the Giant Schnauzer or the glaze turning the matte yellow.

 
Below was my saddest. I WILL figure out how to make it work as a decal. The picture looked awesome of a dog coming over a jump and will be used as a special trophy for obedience. You can just see a faint outline of the dog’s head.


So back to the drawing board for a number of decals. This is why I only committed to a small number of projects this year.


Friday, July 5, 2013

Learning To Use Decals


I am not an artist. I do not draw or paint on clay. Nor am I a sculptor. I do not etch or carve on clay. I’ve tried. I intensely dislike what I see from my efforts. You can call it hate. I love what I see in others work when they use any of these techniques with their pottery.
So what is someone like me, who loves the imagery, to do. I love photography and while I am still in beginner mode it does not cause me the frustration trying to draw, paint, carve or sculpt causes. I actually feel as if I’m improving and I like what I see. That is most important. I like it.

I came across some conversations discussing decal work. I initially tried sending off for high-fire color decals and while they worked very nicely it was not the actual look I was hoping to see and it was a bit costly for my particular budget. Fast forward to this year. I keep seeing a name and work I like. Justin Rothshank's
He does wonderful work and has freely shared a huge amount of information about decals with the world of potters. Using the information from his blog I gathered enough tools to start my own series of tests using my own photography.

I am liking what I see so far. I have much testing to do and will share my steps as I go along from what glazes work well at what temperatures to taking a photograph step-by-step from photo to decal.
With the pictures below I’ve noted the clay, glaze, firing temp, speed of firing and what I’ve found with the decal or glaze.

All clay and glaze below is Laguna B-Mix C5 with grog. Glaze is Coyote Clay Shino glaze with Espresso Bean on the rim. Decals were printed on Fired-On Decal transfer paper.
The following picture shows tumblers bisque fired to cone 05, glaze firing done in a Skutt electric kiln to Cone 5 at a fast speed. Decal firing was to cone 04. I was surprised the glaze turned matte since my early tests to these temps did not turn matte and held their Shino colors. I realized this application of glaze was quite a bit thicker since I had to brush this on. As you can see it is rather yellowish and the Espresso Bean rim lost much of it's darkness.

I then took a group of them and decided to fast fire them back to Cone 5 and see if I gained my glaze As you can see by the comparison the one on the left looks like a glaze fired to the right temperature again. I assume the lumps and bumps under the glaze is the grog coming to the surface due to the firings.

 I then decided to try just firing the rest of them back to Cone 1 to see what would happen and they look as if they were fired back to Cone 5. I do lose some of the darkness from the decal but this glaze blends well with the sepia colored decal so I'll keep it. I will need to make sure I have some good strong lines in my decals when using this glaze. I lose the fine details firing higher.